2026 SLE Practice Contest Walkthrough
Classes will post as they are edited tonight.
***Please bookmark this page***. The link on the front will only be there through the weekend.
Let's begin by discussing the Performance Angus bulls in Class 1. Evaluating these bulls includes considering their use on cows and heifers, particularly tiger-striped varieties intended for sale. Despite minimal variations in birth weight, a focus on weaning weight, yearling weight, and dollar weaning proves essential.
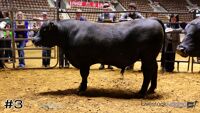
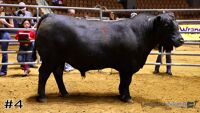
Bulls #3 and #4 stood out due to their genetic compatibility and individual traits. Despite some differences that set them apart, it was evident that these two bulls belonged together. In the end, #4's notable density and power made it challenging not to select him. In comparison to other classes, #4's imposing figure, dense build, and impressive width across the hips made him stand out pound for pound. Despite his undeniable strengths, his tightly wound skeleton presented a slight drawback.
#3, on the other hand, offered a more athletic physique and a relaxed skeletal build. Still, bulls #4 and #3 emerged as the top pair, with #4 being slightly favored for his sheer power and density.
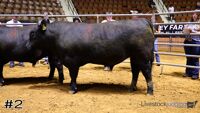
Among the remaining two bulls, #1 stood apart as underperforming in terms of weaning weight, yearling weight, and dollar weaning. With visibly less muscle mass and masculinity, he rightfully claimed the bottom spot. While the #2 bull initially seemed competitive, his lack of muscle mass and power kept him out of the top pair.
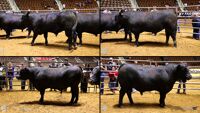
The official placing for this class was 4-3-2-1, with cuts of 2, 5, and 4.